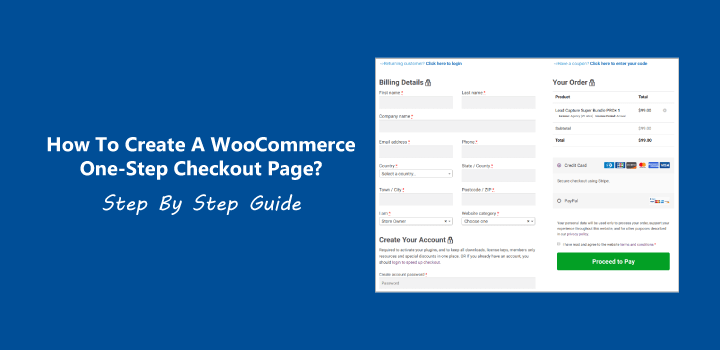
WooCommerce is the leading E-commerce plugin for WordPress. If you want to sell something on your WordPress website or create a marketplace based on the WordPress platform, WooCommerce is the way to go. In this article, we will learn how to create WooCommerce one step checkout page. The process is relatively straightforward, and we will be focusing on the simplest methods out there. Let’s jump right in!
What is a WooCommerce One Step Checkout Page?
Shoppers usually go through a multi-step process to purchase a product or service on a typical online shop. They first add products to their carts then click on proceed to checkout button. That takes them to a new page where they sign in if they have an account on the website. Otherwise, they continue with a guest account and then fill out a form with their address, contact information, and payment information. This can be a pretty big form and sometimes takes up multiple pages itself. The whole lengthy process can sometimes lead to cart abandonment.

The term cart abandonment means a shopper who was in the middle of a purchase stops midway through the process, leaving the purchase incomplete. This implies that the possible revenue is left on the table.
If the process is simplified, we can hope for complete purchases from shoppers like these. Implementing one step checkout is simple and easy. When one step checkout is implemented on a page, shoppers can select the products and checkout on the same page. This makes purchases easy, cuts downtime, and increases overall sales.
How to create WooCommerce one step checkout page?
We will be using the “WooCommerce One Page Checkout” plugin while implementing the procedure of how to create WooCommerce one step checkout page.
First, go to Woocommerce one page checkout and buy the plugin. After we have the plugin, we have two ways to create a one-step checkout page: Using the graphical interface or using shortcodes.
Read: 7 Best WooCommerce Payment Gateways Compared
Using the graphical interface:
Creating a one page checkout page using this plugin is supper easy.
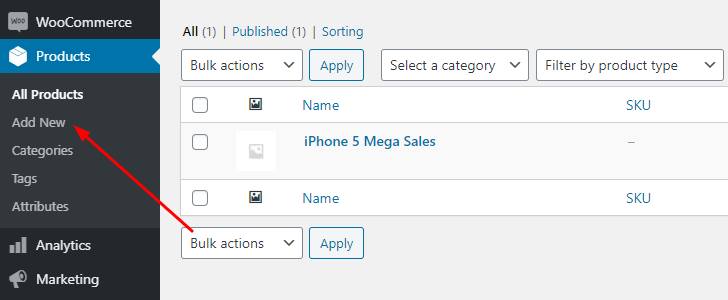
Just simply Go to Woocommerce product and add a new product.

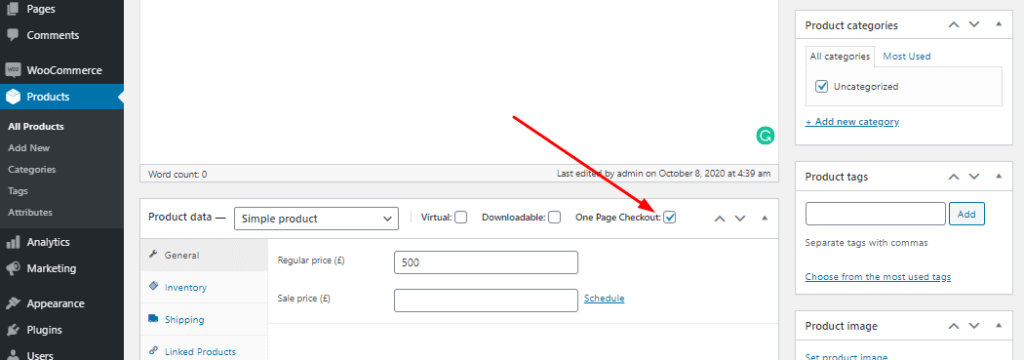
Then input all details of your product whatever you want. In visual mode, click on the One Page Checkout icon.

Now check it.
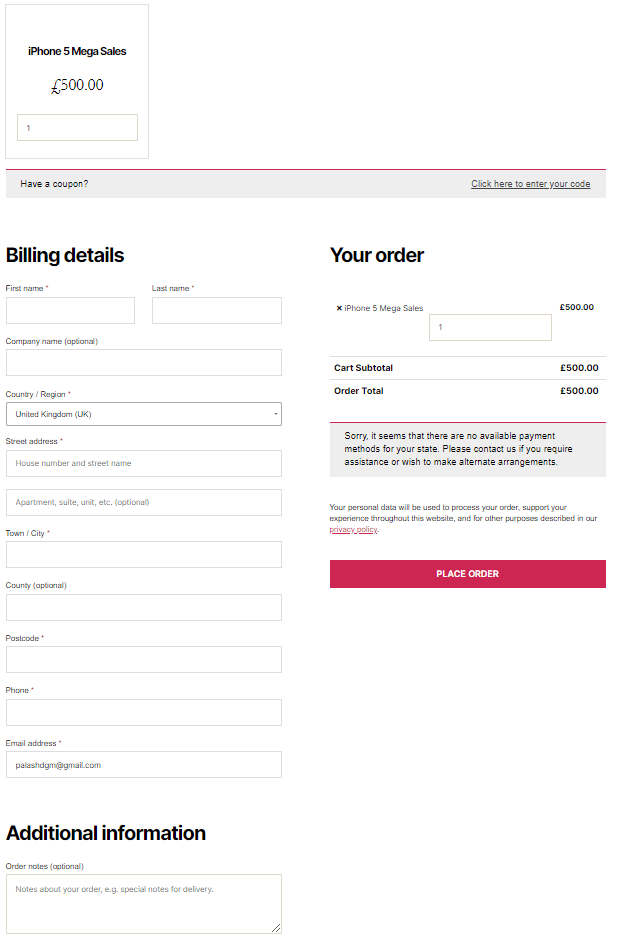
Then finally hit the publish button. Now view your product page in a new tab and click ‘add to cart’ or product purchases button for the testing purpose. After clicking the button you can see the one-page checkout part at the bottom of the same page.
Now your are done. Very simple step.
Using manual short codes:
Short codes are a potent tool in the WordPress world. They are used in pages or posts to reference other elements to be used in the final post. They can also be used in the procedure of how to create the WooCommerce one step checkout page once you have the plugin installed.
Use the [woocommerce_one_page_checkout] short code to any page, post, custom post to create a create WooCommerce one step checkout page.
You can further customize the one step checkout page by using the short code’s attributes.
The product_ids=”” attribute determines what products will be displayed on the page. You have to type in product IDs between the quotes. Separate multiple product IDs using commas. Example: product_ids=”30,45,12″
If you use the category_ids=”” attribute, it will show the products classified in certain categories. As with product IDs, category IDs can be multiple in number and have to be separated using a comma. Example: category_ids=”27,11,45″
The template=”” attribute determines the template that will be used on the page. You have to type in the template’s name between the quotes. Only one template can be used, so multiple entries are not allowed. Example: [woocommerce_one_page_checkout template=”my-pricing-table”]
The final short code might look something like this: [woocommerce_one_page_checkout product_ids=”30,45,12″ template=”pricing-table”]
Save the post or page. You are done. To check just simple open the page where you have implement the short code.

After thoughts & Conclusion
Keep in mind, however, there are other plugins that you can use in the process of how to create the WooCommerce one step checkout page. Such as: “WooCommerce One Page Checkout and Layouts” and “ACL Woo OnePage Checkout Shop.” These offer special features like product loading using AJAX and predefined layouts. But understand that these can sometimes be a bit more difficult to set up.
Another thing to keep in mind is that while implementing a one-step checkout page might be simple and speed things up; you don’t want to use it everywhere. Sometimes a more conventional multi-page checkout process will be more preferable.
So, keep an eye out for user behavior on your website. If you think you will benefit from one step checkout, you can quickly implement it. It might also be the case that you will need to use a one-step checkout page on some parts of your site while using the standard form elsewhere.
That’s it! Now you know how to create WooCommerce one step checkout page. Add it to your WordPress website or online store and start earning more today!